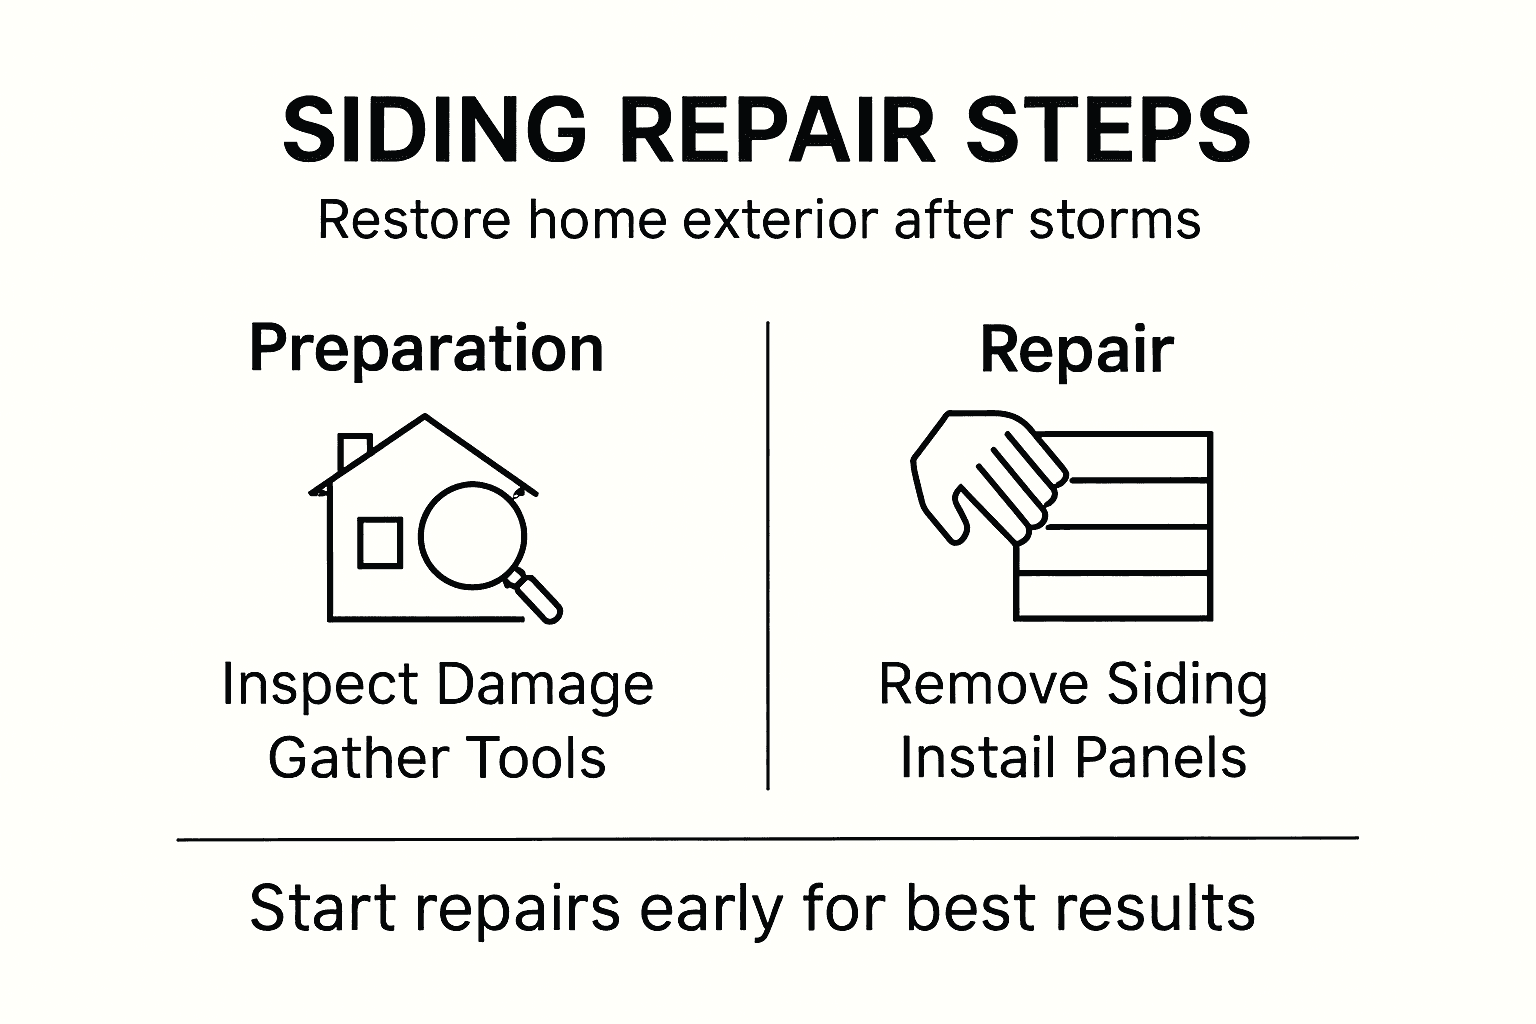
Heavy storms in North Texas can leave even the sturdiest homes with cracked siding and unexpected leaks. For many Dallas-Fort Worth homeowners, tackling these repairs for the first time might seem overwhelming. This clear step-by-step guide breaks down how to assess, repair, and protect your siding, helping you restore your home’s curb appeal and safeguard against future storms, all with simple tools and beginner-friendly advice.
Table of Contents
- Step 1: Assess Damage and Gather Materials
- Step 2: Remove Damaged Siding Sections
- Step 3: Install Replacement Siding Properly
- Step 4: Seal and Secure New Siding Panels
- Step 5: Verify Repairs and Finalize Cleanup
Quick Summary
| Key Point | Explanation |
|---|---|
| 1. Inspect for Damage Thoroughly | Conduct a detailed visual inspection to identify cracked panels, loose sections, and water penetration signs. Use a camera for documentation. |
| 2. Use Proper Tools for Removal | Employ a pry bar, utility knife, and hammer to remove damaged siding carefully without causing harm to surrounding areas. |
| 3. Install Siding with Precision | Take accurate measurements, install starter strips, and ensure alignment and overlaps to create a durable exterior against storm damage. |
| 4. Seal and Secure New Panels Effectively | Apply weather-resistant sealant to all seams and joints, focusing on corners and edges to prevent moisture intrusion. |
| 5. Conduct a Final Inspection | Verify that panels are aligned, sealant is evenly applied, and all debris is cleared from the site for a clean finish. |
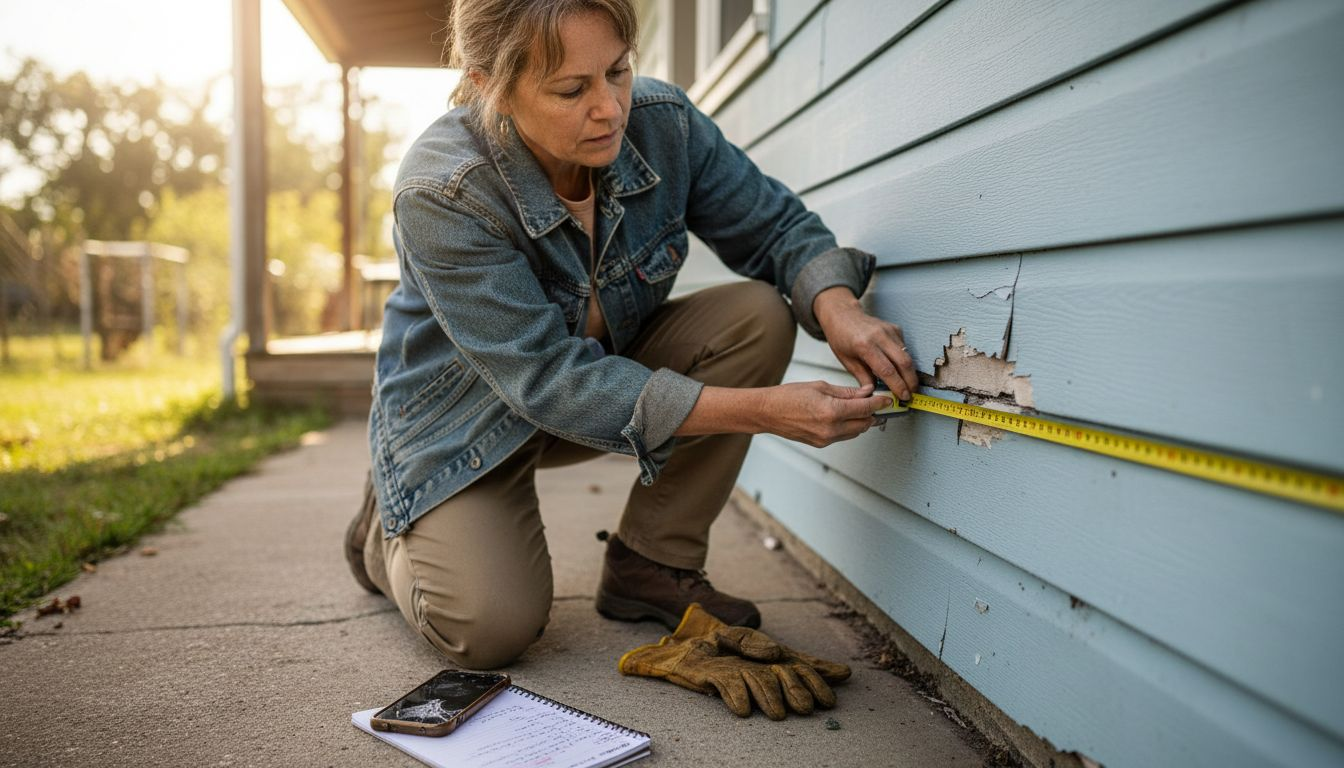
Step 1: Assess Damage and Gather Materials
Storm damage to your home’s siding requires a systematic and careful inspection to determine the full extent of repairs needed. This crucial first step will help you understand the scope of work and prepare appropriately for restoration.
Begin by performing a comprehensive visual inspection of your exterior siding. Look for clear signs of damage such as cracked panels, loose sections, or areas with visible water penetration. The comprehensive wood siding damage assessment guidelines recommend paying special attention to these key areas:
Here is a summary of common siding damage types and their typical causes to help you during inspection:
| Damage Type | Typical Cause | What to Look For |
|---|---|---|
| Cracked panels | Impact from debris | Splits, visible cracks in panels |
| Loose sections | High winds | Panels shifting or gapping |
| Water penetration | Faulty seals or flooding | Stains, bubbling, warping |
| Rotting or mold | Prolonged moisture | Soft spots, discoloration |
| Warping or buckling | Heat or water damage | Bowed or uneven surfaces |
- Corners and edges of siding panels
- Areas near roof lines and windows
- Sections exposed to direct wind and rain
- Lower portions of walls that might absorb ground moisture
To properly assess the damage, gather these essential materials before starting your repair:
- Protective safety gear (work gloves, safety glasses)
- Measuring tape
- Ladder
- Flashlight
- Camera or smartphone for documentation
- Notepad for tracking damage details
Careful documentation can help streamline insurance claims and track repair progress.
Carefully inspect each damaged section, measuring the dimensions and noting the specific type of damage. Take clear photographs from multiple angles to create a comprehensive record. This documentation will prove invaluable when planning repairs or communicating with insurance providers.
This table compares key tools and their purposes throughout the siding repair process:
| Tool | Primary Use | When to Use |
|---|---|---|
| Measuring tape | Accurately size damage and panels | Inspection, installation |
| Pry bar | Remove damaged siding sections | Removal |
| Utility knife | Cut through siding and sealant | Removal, installation |
| Hammer | Extract or install fasteners | Removal, installation |
| Ladder | Reach higher siding areas | Inspection, repair |
| Camera or smartphone | Document condition and progress | All stages |
Pro tip: Take photographs in good lighting and include a reference object like a measuring tape to provide scale and precise documentation.
Step 2: Remove Damaged Siding Sections
Removing damaged siding requires precision, careful technique, and the right tools to prevent further structural damage. This critical step will help you systematically remove compromised sections while preparing for subsequent repair work.
Start by carefully inspecting damaged wood siding sections and identifying the specific areas that need removal. You’ll want to use specialized tools like a pry bar, utility knife, and hammer to methodically extract the damaged panels. Focus on these key steps:
- Protect surrounding areas with drop cloths
- Remove any fasteners holding damaged sections
- Cut through siding carefully to minimize adjacent material damage
- Gently pry away damaged panels
When removing siding, pay special attention to these critical considerations:
- Wear protective safety gear
- Work systematically from top to bottom
- Support remaining siding sections during removal
- Inspect underlying structures for additional damage
Precision during removal prevents unnecessary additional repair work.
Ensure you create clean edges and minimal disruption to surrounding siding materials. Document the removal process with photographs to help track your repair progress and assist with potential insurance claims.
Pro tip: Keep all removed siding pieces intact if possible for precise measurements during replacement.
Step 3: Install Replacement Siding Properly
Installing replacement siding correctly is crucial for protecting your home from future storm damage and maintaining its structural integrity. This step requires careful preparation, precise technique, and attention to detail to ensure a professional-quality result.
Proper installation techniques are essential for creating a durable and weather-resistant exterior. Begin by preparing the wall surface, ensuring it is clean, dry, and free from any existing damage or debris. Your replacement siding installation will involve several critical steps:
- Measure the area precisely
- Prepare the wall surface thoroughly
- Install starter strips at the bottom of the wall
- Attach new siding panels systematically
- Ensure proper overlap and alignment
Key considerations for successful siding installation include:
- Use corrosion-resistant fasteners
- Maintain recommended expansion gaps
- Align panels precisely and evenly
- Check for level placement throughout installation
Proper installation is your first line of defense against future storm damage.
Take your time during installation, working carefully and methodically to ensure each panel is securely and correctly positioned. Pay special attention to corners, edges, and areas around windows and doors to create a seamless, watertight finish.
Pro tip: Always keep a small gap between siding panels to allow for natural expansion and contraction with temperature changes.
Step 4: Seal and Secure New Siding Panels
Sealing and securing your new siding panels is the final crucial step in restoring your home’s exterior protection after storm damage. This process creates a watertight barrier that prevents moisture intrusion and ensures long-lasting durability.
Proper sealant application techniques are essential for creating an effective weather-resistant barrier. You’ll want to focus on comprehensive sealing that addresses potential vulnerabilities in your siding installation. Critical sealing steps include:
- Clean all panel edges and adjacent surfaces
- Apply high-quality weather-resistant sealant
- Use flexible caulking around edges and joints
- Inspect and seal all potential moisture entry points
- Verify complete coverage and smooth application
Key considerations for effective siding panel sealing:
- Choose weather-resistant sealant
- Apply sealant at recommended temperatures
- Use even, consistent application
- Allow proper drying time between coats
A thorough seal is your home’s first defense against future storm damage.
Pay close attention to areas around windows, doors, and corners, where water can potentially penetrate. Take your time to ensure complete coverage and smooth application of sealants to create a seamless protective barrier.
Pro tip: Select a sealant that matches your specific siding material to ensure maximum flexibility and long-term protection.
Step 5: Verify Repairs and Finalize Cleanup
The final stage of your siding repair project involves carefully verifying the quality of your work and ensuring a clean, professional finish. This crucial step guarantees that your home is fully protected and restored after storm damage.
Comprehensive repair verification techniques will help you confirm every aspect of the installation meets professional standards. Conduct a thorough visual and tactile inspection, paying attention to these critical elements:
- Check panel alignment and spacing
- Verify sealant coverage
- Test panel stability
- Examine edges and corner connections
- Confirm overall aesthetic appearance
Key areas to inspect during final verification:
- Tight panel connections
- Consistent sealant application
- No visible gaps or misalignments
- Smooth surface transitions
A meticulous final inspection prevents future maintenance issues.
Prepare to remove all construction debris, protecting your landscaping and surrounding areas. Use drop cloths, collect loose materials, and sweep or vacuum work areas to leave your property clean and professionally finished.
Pro tip: Take photographs of the completed repair for your records and potential insurance documentation.
Restore Your Home’s Strength with Professional Siding Repair Services
Storm damage can leave your siding cracked, loose, or vulnerable to moisture invasion. These challenges often trigger worries about further structural damage and costlier repairs down the line. This guide showed the importance of precise damage assessment, careful removal, and expert installation to withstand future storms.
If you want to protect your home and secure long-lasting results, trust the team at AstroTech Construction for your siding and storm damage repair needs in the Dallas – Fort Worth Metroplex. Our experts specialize in restoring damaged siding with quality materials, proper sealing, and meticulous workmanship to prevent water penetration and ensure your home stays safe and beautiful.

Don’t let damaged siding compromise your home’s safety or curb appeal. Contact AstroTech Construction today to schedule a consultation and discover how our full range of storm damage repair and exterior renovation services can bring peace of mind to your home restoration project. Act now to safeguard your investment with trusted professionals who care.
Frequently Asked Questions
How do I assess storm damage to my home’s siding?
To assess storm damage, conduct a thorough visual inspection of the siding. Look for cracked panels, loose sections, or signs of water penetration, and take notes and photos to document each area needing repair.
What tools do I need to remove damaged siding sections?
You will need a pry bar, utility knife, hammer, and a ladder to safely remove damaged siding sections. Start by removing fasteners, cutting through siding carefully, and gently prying off the compromised panels.
What is the correct way to install replacement siding?
Begin by measuring the damaged area and preparing the wall surface. Install starter strips, then attach new siding panels, making sure to maintain even alignment and proper overlaps to prevent future damage.
How can I effectively seal new siding panels after installation?
Apply a high-quality, weather-resistant sealant around the edges and joints of the new siding panels. Ensure thorough coverage and allow enough drying time to create a watertight barrier that protects against moisture intrusion.
What should I check during the final inspection of my siding repair?
During the final inspection, verify panel alignment, sealant coverage, and overall stability of the installed siding. Look for tight connections and smooth transitions to ensure your repair is both functional and aesthetically pleasing.
How should I clean up after completing siding repairs?
Remove all construction debris by collecting loose materials and vacuuming the work area. This not only protects your landscaping but also ensures a tidy and professional finish to your repair project.
Recommended
- Step-by-Step Guide to Emergency Home Repairs for Homeowners – Astrotech Construction
- Insurance Restoration: Transforming Storm Damage Recovery – Astrotech Construction
- Siding Replacement Step by Step for Lasting Results – Astrotech Construction
- Bathroom Remodeling After Storm: Restore and Upgrade Fast – Astrotech Construction
- 4 Steps to Weatherproof Your Roof in Storm Season