Storms can leave Dallas-Fort Worth homes vulnerable in minutes, exposing families to real safety concerns and expensive damages. Acting fast after disaster strikes is crucial for protecting your property and wellbeing. This guide highlights urgent repair strategies and practical steps to assess damage, gather the right tools, and secure unsafe areas, equipping homeowners with actionable solutions for recovering quickly and safely.
Table of Contents
- Step 1: Assess Damage And Identify Urgent Repairs
- Step 2: Gather Essential Tools And Materials
- Step 3: Secure Unsafe Areas To Prevent Further Damage
- Step 4: Perform Temporary Repairs For Immediate Relief
- Step 5: Verify Repair Effectiveness And Restore Safety
Quick Summary
| Key Insight | Explanation |
|---|---|
| 1. Assess damage quickly | Swiftly examine your home to identify urgent repairs and potential hazards. Focus on water damage and structural integrity first. |
| 2. Gather essential tools | Assemble a comprehensive emergency repair kit, including tools, safety gear, and documentation supplies for quick access. |
| 3. Secure unsafe areas | Temporarily cover broken windows and roof punctures to prevent further damage and protect against the elements. |
| 4. Perform temporary repairs | Implement immediate repairs such as waterproofing and patching to maintain safety and functionality until professionals can assist. |
| 5. Verify repair effectiveness | Thoroughly check the quality of temporary fixes; document each step to ensure long-term safety and prepare for professional evaluations. |
Step 1: Assess Damage and Identify Urgent Repairs
When storm damage strikes, quickly assessing your home’s condition becomes critical. This step helps you identify which repairs require immediate attention and which can wait.
Start your damage assessment by systematically examining both exterior and interior areas. Walk around your property and document damage comprehensively. Look for signs of structural compromise like roof punctures, foundation cracks, broken windows, water intrusion, or electrical system damage. Take photographs and notes documenting each issue thoroughly. Focus on potential safety hazards first water leaks near electrical outlets, compromised structural elements, or gas line damages.
Prioritize repairs based on immediate risk potential. Water damage requires the fastest response since it can lead to mold growth within 24 to 48 hours. Electrical issues pose fire risks and must be addressed immediately. Structural damages that compromise your home’s integrity should be evaluated by professional contractors who can determine whether temporary stabilization is required.
Here’s a summary of common storm damage types and their potential consequences:
| Damage Type | Example Signs | Potential Risk | Recommended Immediate Action |
|---|---|---|---|
| Water Intrusion | Wet ceilings, leaks | Mold, electrical hazard | Dry area, isolate power, document |
| Structural Compromise | Roof holes, wall cracks | Collapse, injury | Support structure, call professionals |
| Broken Windows | Shattered glass, drafts | Security, weather entry | Board up, seal edges, photograph |
| Electrical Damage | Exposed wires, outages | Fire, electrocution | Shut off power, cover exposed wires |
Pro tip: Keep a digital folder with damage documentation including photos and notes which will help with insurance claims and contractor estimates.
Step 2: Gather Essential Tools and Materials
Before diving into emergency home repairs, assembling the right tools and materials can mean the difference between effective recovery and prolonged damage. Your emergency repair kit needs strategic planning and comprehensive coverage.
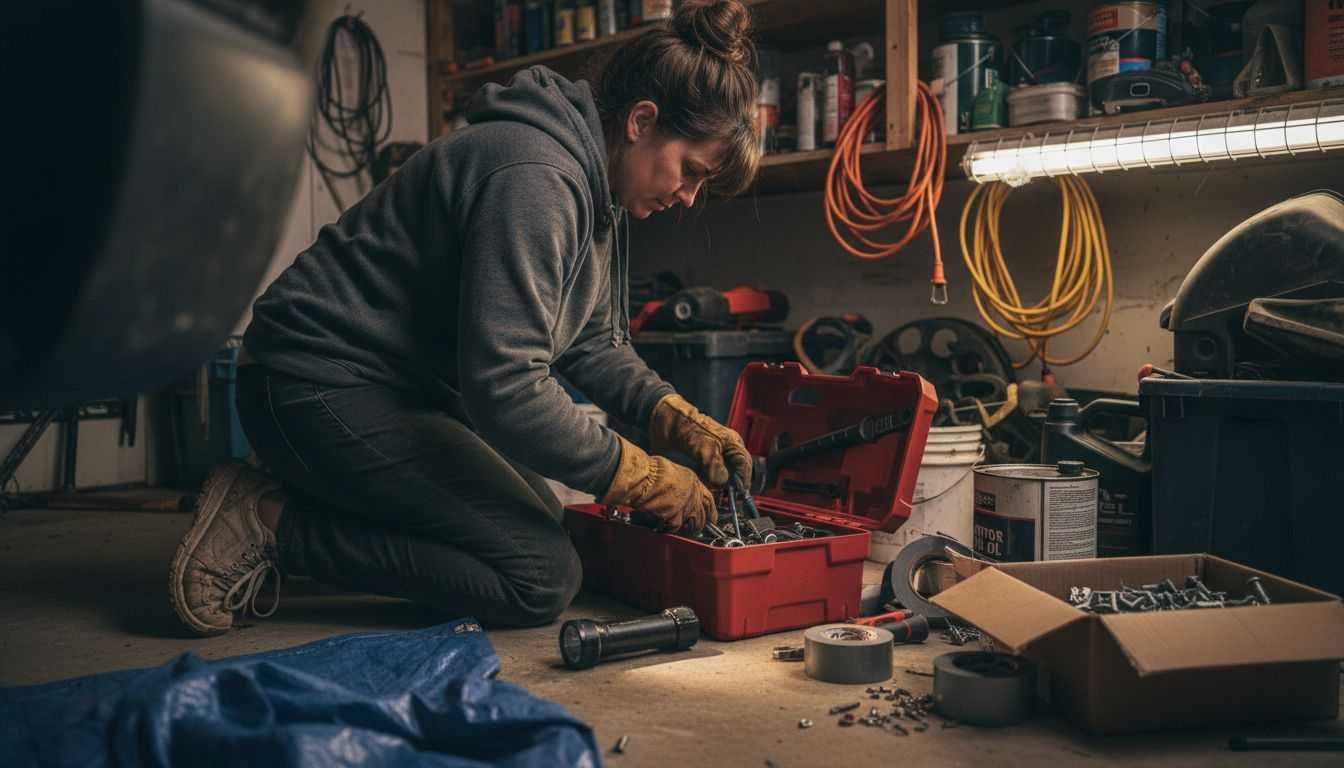
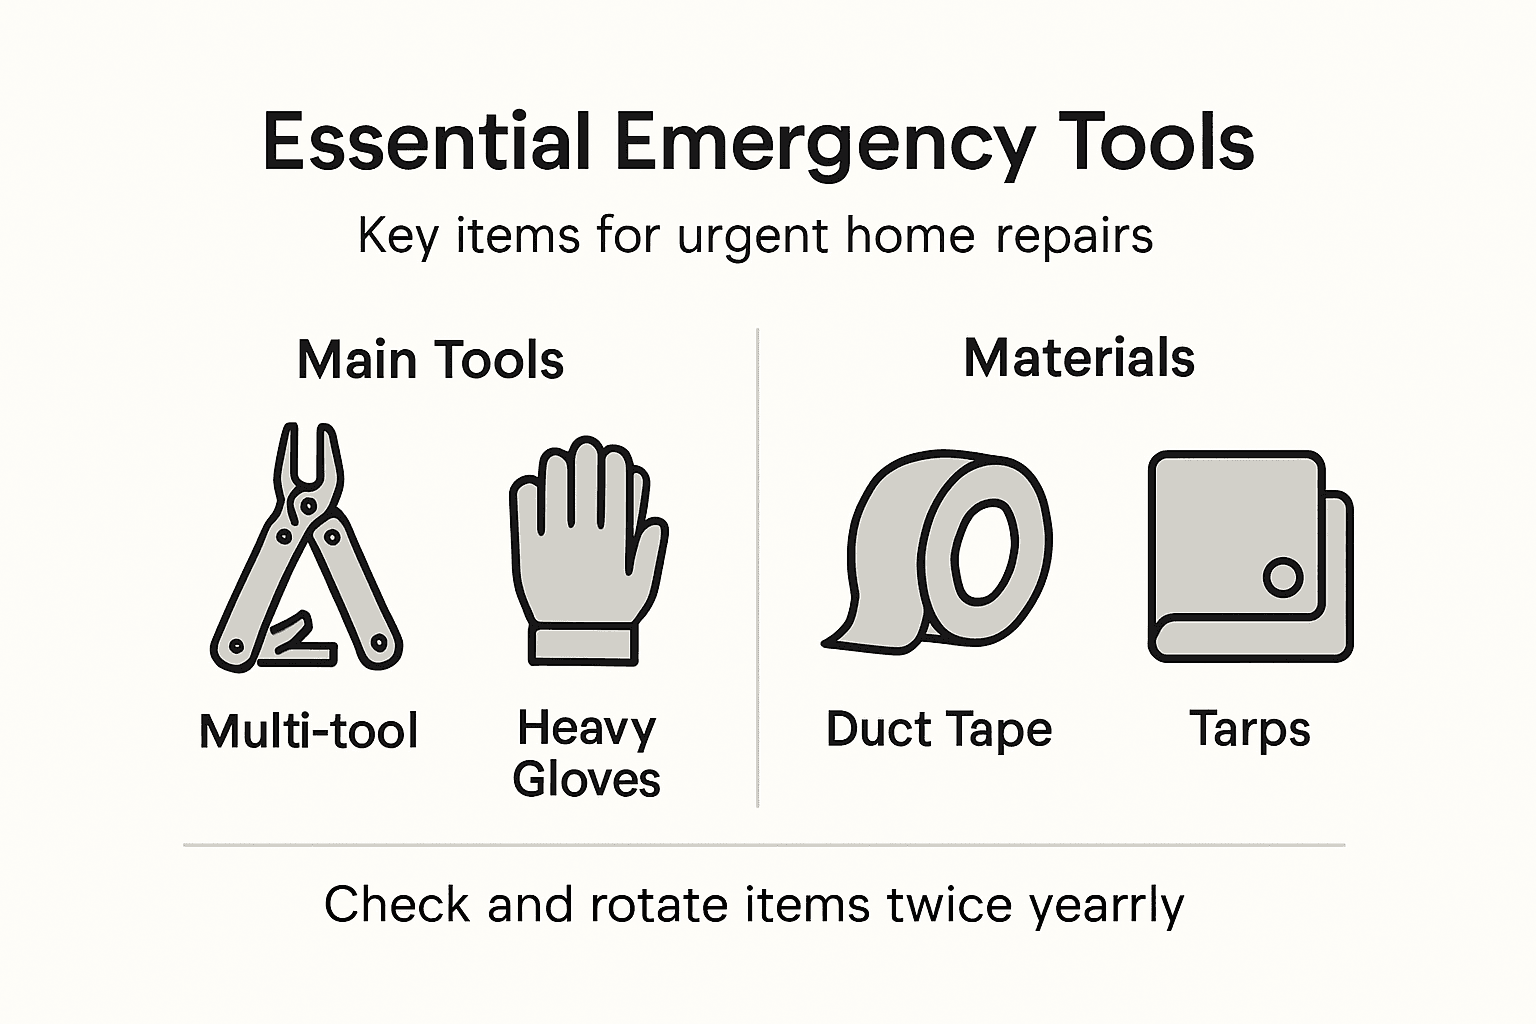
Start by collecting emergency survival essentials that serve dual purposes for both immediate safety and repair needs. Your kit should include critical items like a multi-tool with pliers and wrench, heavy duty work gloves, waterproof flashlight with extra batteries, duct tape, plastic sheeting, hammer, utility knife, measuring tape, adjustable wrench, pry bar, safety glasses, dust masks, and a first aid kit. Include weather resistant containers to protect these tools from moisture. Consider battery powered or hand crank radios to stay informed about local emergency conditions and potential assistance resources.
Organize your tools systematically in a portable toolbox or waterproof container that can be quickly accessed during emergencies. Separate your tools into categories hard tools, safety equipment, temporary repair materials like tarps and sealants and documentation supplies such as notebook and camera for recording damage. Keep digital and physical copies of important documents like insurance information and contractor contact details in a sealed waterproof bag within your kit.
Pro tip: Rotate and check your emergency repair kit every six months to replace expired items and ensure all tools remain functional and batteries are charged.
The following table compares key emergency repair tools by their primary purpose and ideal usage conditions:
| Tool | Primary Purpose | Best Usage Condition |
|---|---|---|
| Multi-tool | Versatile repairs | All-around, quick fixes |
| Heavy duty gloves | Hand protection | Handling sharp or wet materials |
| Marine grade tarp | Temporary waterproofing | Covering roof or window holes |
| Battery powered radio | Safety communication | Power outage, severe weather |
Step 3: Secure Unsafe Areas to Prevent Further Damage
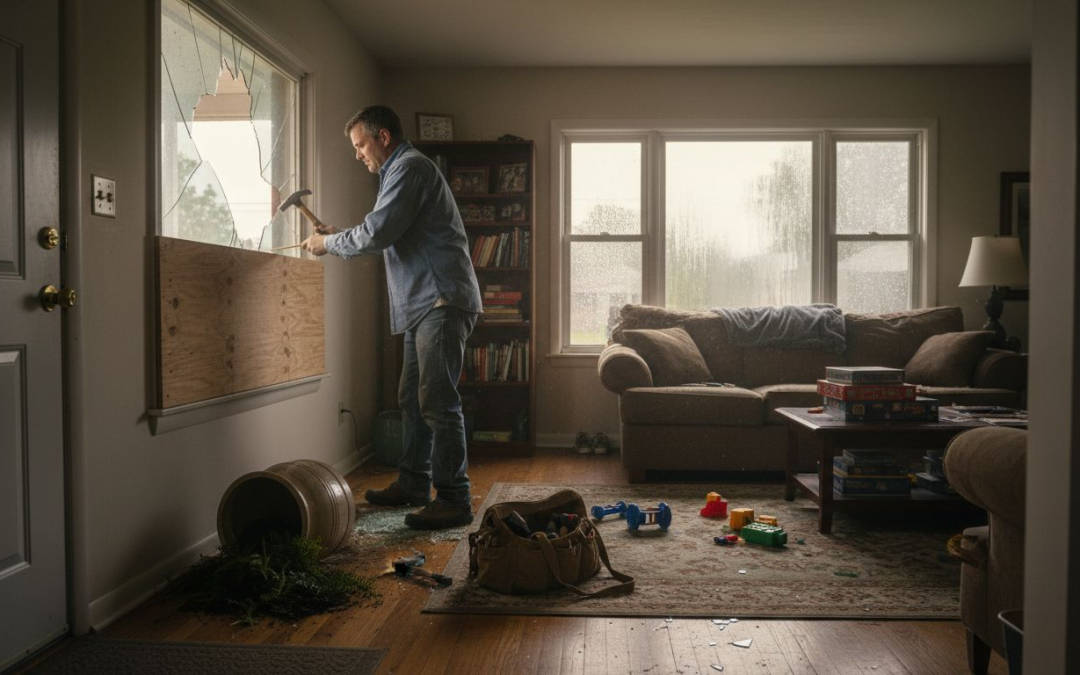
After assessing initial storm damage, your next critical mission is preventing additional destruction and protecting your property from further deterioration. This step requires careful navigation and strategic intervention.
Safety protocols for disaster recovery demand immediate action to mitigate potential risks. Begin by boarding up broken windows using plywood cut to precise measurements, securing doors with temporary fasteners, and covering roof punctures with heavy duty tarps. Use plastic sheeting and waterproof tape to seal exposed areas vulnerable to water intrusion. Pay special attention to electrical systems disconnecting power if you notice any wire damage or water exposure near electrical outlets. Avoid standing water and watch for structural compromises like foundation cracks or roof sagging that might indicate more serious underlying damage.
Prioritize creating temporary barriers against weather and potential intruders. Use sturdy materials like marine grade plywood for window coverings, ensuring they overlap edges by at least four inches and are securely fastened with exterior grade screws. Create drainage paths to redirect water away from damaged areas and use sandbags if flooding seems imminent. Document all temporary repair work with photographs for insurance purposes and potential contractor assessments.
Pro tip: Always wear protective gear like work gloves, safety glasses, and sturdy boots when securing damaged areas to prevent personal injury.
Step 4: Perform Temporary Repairs for Immediate Relief
Now that you have secured unsafe areas, your focus shifts to implementing critical temporary repairs that prevent further damage and maintain your home’s basic functionality. These swift interventions can save thousands in potential long-term restoration costs.
Prioritize home repair strategies for immediate safety that address the most urgent structural and system vulnerabilities. Start with emergency waterproofing using marine grade tarps or plastic sheeting to cover roof punctures and broken windows. Seal electrical junction boxes exposed to moisture and use waterproof electrical tape to temporarily insulate any compromised wiring. For plumbing issues like small pipe leaks, apply waterproof epoxy or pipe repair clamps as a short-term solution. Use expandable foam or quick setting cement to temporarily patch foundation cracks or wall breaches that might allow water or pest intrusion.
Document every temporary repair meticulously with photographs and detailed notes recording the location, materials used, and date of intervention. This documentation serves critical purposes for insurance claims and professional contractor assessments. Keep all receipts for materials and take clear before and after images that demonstrate the emergency repairs you have completed.
Pro tip: Temporary repairs should always prioritize safety and prevention of further damage not serve as permanent solutions.
Step 5: Verify Repair Effectiveness and Restore Safety
After completing emergency repairs, your next critical task is thoroughly assessing the quality and reliability of your temporary interventions. This systematic evaluation ensures your home remains structurally sound and protects you from potential hidden risks.
Comprehensive repair verification guidelines recommend a methodical inspection process. Start by carefully examining each temporary repair under different conditions. Check temporary roof patches during light rain to confirm water resistance. Test sealed electrical connections by gently applying pressure and checking for stability. Inspect foundation and wall patches by applying light pressure and watching for signs of cracking or movement. Use a moisture meter to detect potential water infiltration around sealed areas. Look for any signs of material degradation like softening, discoloration, or unexpected expansion in your temporary repair materials.
Create a detailed documentation log tracking each repair location, materials used, date of repair, and current condition. Include clear photographs showing the repair before and after your verification process. Note any areas that seem vulnerable or require professional follow up. Pay special attention to potential stress points or areas where temporary repairs might have been compromised by ongoing environmental conditions.
Pro tip: Always plan for professional assessment within 30 days of emergency repairs to ensure long term structural integrity.
Protect Your Home with Trusted Emergency Repair Experts
Dealing with storm damage and emergency home repairs can be overwhelming. From identifying urgent structural issues to performing temporary fixes that safeguard your family and property, every step demands precision and care. Common challenges include quick water intrusion control, securing broken windows, and making sure electrical systems are safe. You deserve peace of mind knowing these repairs are done right to prevent costly long-term damage.
At Astrotech Construction, we specialize in comprehensive storm damage repair and restoration services throughout the Dallas – Fort Worth Metroplex. Our professional team offers expert roof replacement, siding repair, and full home remodeling that not only restores your home’s integrity but also enhances its value and safety. With years of experience, we prioritize quality and customer satisfaction to help you move from emergency repairs to complete restoration efficiently and confidently.
Imagine having a dedicated partner who understands the urgency and complexity of emergency home repairs ready to support you immediately.
Ready to restore your home with expert care and trusted craftsmanship

Don’t wait until minor damage becomes a major problem. Visit Astrotech Construction today to schedule your consultation and take the first step toward a safer, stronger home. Let us help you turn your emergency repairs into lasting solutions with unmatched quality and service.
Frequently Asked Questions
How do I assess storm damage to my home?
Start by systematically examining both the exterior and interior areas of your home. Look for signs of structural issues, water intrusion, or electrical damage, and document each finding with photographs and notes for your records.
What immediate repairs should I prioritize after a storm?
Focus on addressing water damage and electrical issues first, as they can lead to mold growth and fire hazards, respectively. Make quick interventions within 24 to 48 hours to mitigate further risks.
What tools and materials do I need for emergency home repairs?
Gather essential tools like a multi-tool, heavy-duty gloves, and waterproof tape, along with materials for temporary fixes such as tarps and plastic sheeting. Organize these supplies in a portable container for easy access during emergencies.
How can I secure unsafe areas of my home after a storm?
Board up broken windows, cover roof punctures with tarps, and seal exposed areas to prevent further damage. Use sturdy materials and ensure everything is securely fastened to create effective barriers against the elements.
What steps should I take to document my emergency repairs?
Take clear photographs of each repair and maintain a log that includes the location, materials used, and the date of the intervention. This documentation is essential for insurance claims and future contractor assessments.
How can I verify the effectiveness of my temporary repairs?
Conduct a thorough inspection of all temporary repairs under various conditions to check for water resistance, stability, and signs of degradation. Create a log tracking the condition of each repair, noting any areas that may require professional follow-up.
Recommended
- 7 Essential Examples of Home Repairs Every Owner Should Know – Astrotech Construction
- 7 Steps to the Ultimate Home Maintenance Checklist – Astrotech Construction
- Home Renovation Checklist 2025: A Step-By-Step Guide – Astrotech Construction
- Step by Step Renovation Checklist for Homeowners – Astrotech Construction