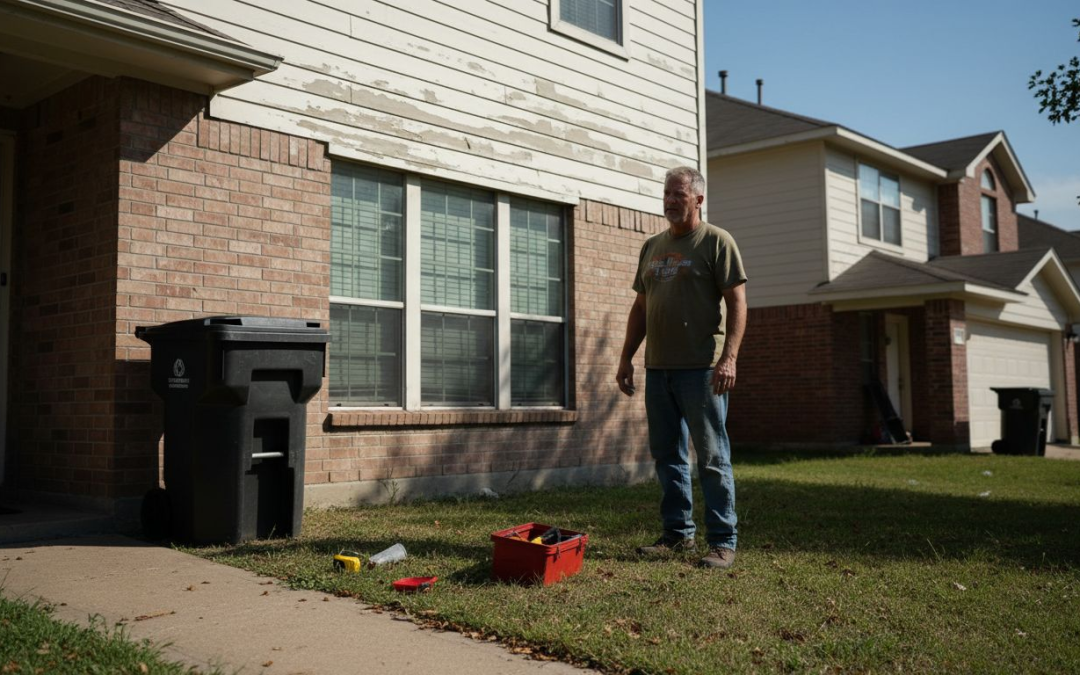
If you live in the Dallas-Fort Worth area, you know firsthand how severe weather can damage your home’s exterior. Hailstorms, high winds, and temperature swings take a toll on siding. This guide walks you through selecting and installing siding that resists storm damage while cutting your energy bills. Following these proven steps prevents the common mistakes that lead to costly repairs down the road.
Table of Contents
- Understanding Your Local Climate and Its Impact on Siding
- Prerequisites: What You Need Before Starting Your Siding Upgrade
- Material Selection: Choosing the Right Siding for Your Home
- Preparation Steps Before Installation
- Installation Process and Hiring Professionals
- Common Mistakes and How to Avoid Them
- Expected Outcomes and Maintenance for Longevity
- Upgrade Your Home Siding with Astrotech Construction
- Frequently Asked Questions
Key Takeaways
| Point | Details |
|---|---|
| Climate demands drive material choice | Dallas-Fort Worth storms require impact-resistant, energy-efficient siding that withstands hail and wind. |
| Proper preparation cuts failures by 30% | Installing weather barriers and following manufacturer guidelines prevents most common siding problems. |
| Fiber cement leads in storm resistance | This material withstands hail up to 2 inches and winds exceeding 100 mph, ideal for local conditions. |
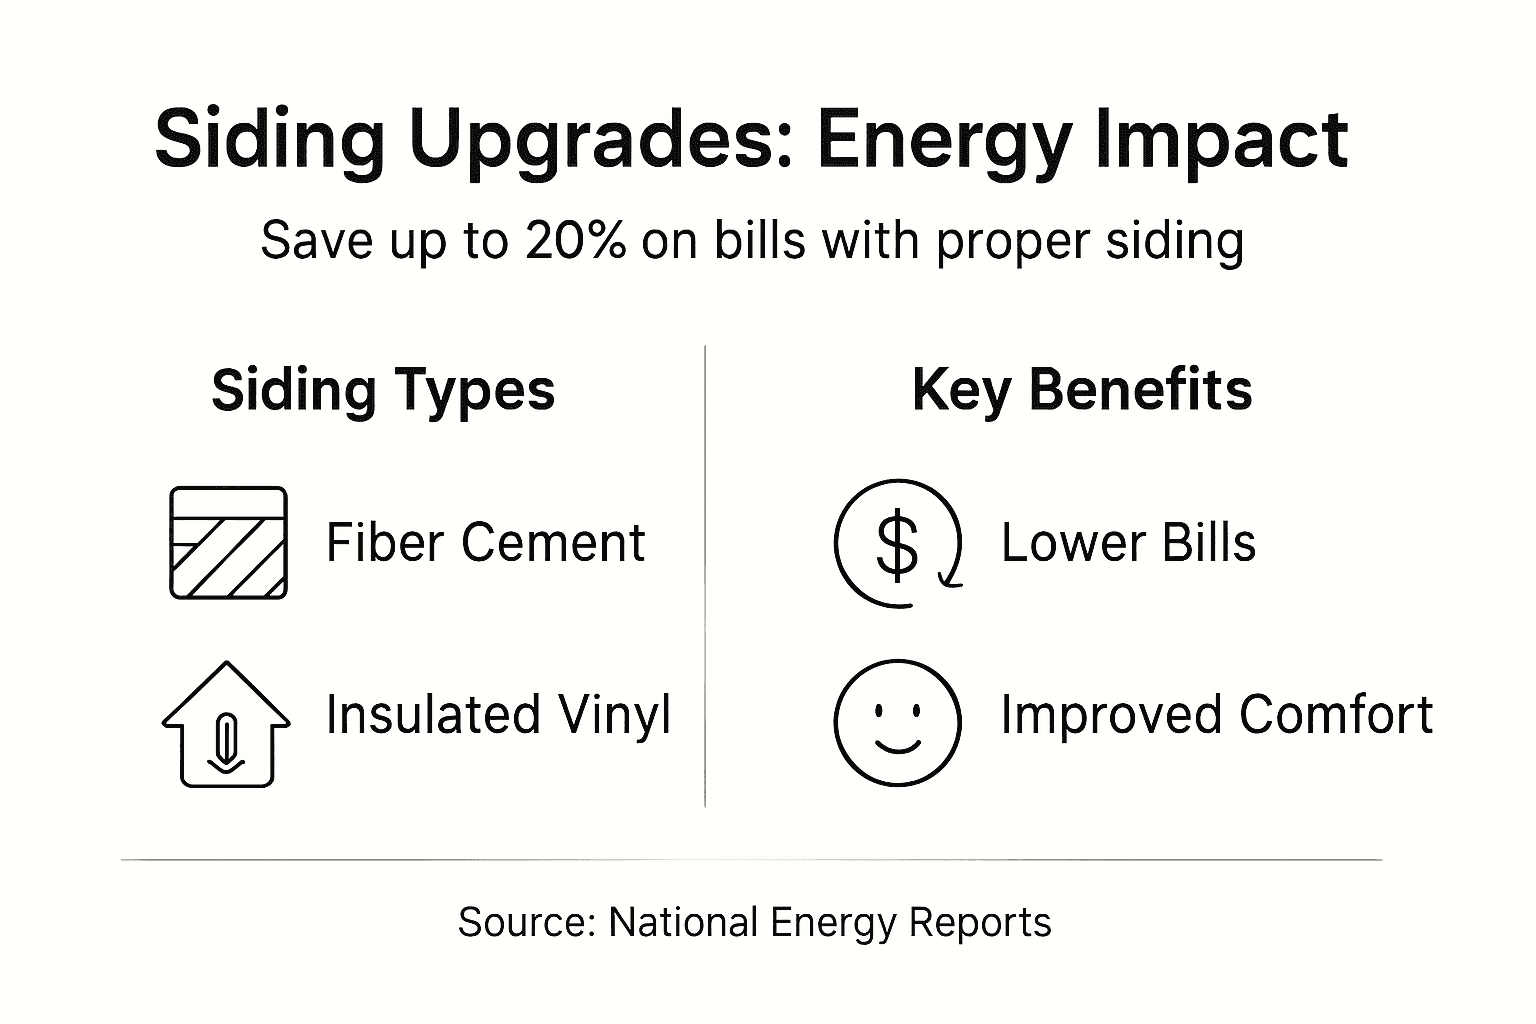
| Energy savings reach 10-20% | Insulated siding significantly reduces heating and cooling costs while improving comfort. |
| Professional installation matters most | Experienced local contractors prevent the mistakes that cause 25% of repairs within five years. |
Understanding Your Local Climate and Its Impact on Siding
The Dallas-Fort Worth Metroplex presents unique challenges for home exteriors. Our region experiences severe hailstorms, powerful winds, dramatic temperature swings, and intense UV exposure throughout the year. These factors directly influence which siding materials will protect your home effectively.
Hail poses the most significant threat to siding in our area. According to FiberCement.org, fiber cement siding withstands hail up to 2 inches in diameter and winds exceeding 100 mph. This performance level makes it the gold standard for storm protection. Wind-driven rain can penetrate poorly sealed siding joints, causing hidden moisture damage that weakens your home’s structure over time.
Temperature fluctuations between hot summers and cold winters stress siding materials through constant expansion and contraction. Materials that can’t handle these cycles crack, warp, or separate from the home. Energy performance becomes equally important, as your siding acts as a thermal barrier against extreme temperatures. The right choice reduces strain on your HVAC system year-round.
When selecting siding for DFW homes, prioritize these climate-specific features:
- Impact resistance rated for hail common to North Texas
- Wind resistance certification for sustained gusts over 90 mph
- Moisture barriers that prevent water intrusion during storms
- Thermal performance that reduces heat transfer
- UV stability to prevent fading and degradation
Working with a local siding contractor who understands regional weather patterns ensures your upgrade addresses these specific challenges. Professional installers familiar with exterior updates for DFW homes can recommend materials proven to perform in our climate. Making informed material choices now protects your investment for decades.
Prerequisites: What You Need Before Starting Your Siding Upgrade
Successful siding upgrades require careful planning before any installation begins. Starting without proper preparation leads to delays, cost overruns, and compromised performance. According to This Old House, proper preparation including weather barrier installation reduces siding failure rates by up to 30%.
Begin by assessing your current siding and underlying structure. Look for signs of rot, mold, pest damage, or structural issues that need repair before new siding goes up. Ignoring these problems traps moisture and deterioration beneath beautiful new materials. Schedule a professional inspection if you notice soft spots, water stains, or visible damage.
Gather the essential tools and materials your project requires:
- Safety equipment including gloves, eye protection, and sturdy ladders
- Weather-resistant barriers and quality flashing materials
- Appropriate fasteners recommended by siding manufacturers
- Measuring tools, levels, and cutting equipment
- Temporary weather protection for exposed areas
Timing matters significantly for siding projects. Schedule installation during mild weather, typically spring or fall in our region. Avoid peak storm season from April through June when severe weather could delay work or damage partially completed installations. Most residential projects take one to three weeks depending on home size and complexity.
Understand budget expectations upfront. Material costs vary widely based on your choice, with vinyl starting around $2.50 per square foot and premium fiber cement reaching $10 or more. Labor typically adds $3 to $5 per square foot. Get detailed written estimates from multiple contractors before committing.
Pro Tip: Create a project timeline that includes buffer time for weather delays and material delivery. Building in flexibility prevents rushed work that compromises quality.
Review local building codes and permit requirements. Most jurisdictions require permits for siding replacement, and inspections ensure work meets safety standards. Following the siding replacement preparation steps systematically positions your project for success.
Material Selection: Choosing the Right Siding for Your Home
Choosing the right siding material balances durability, cost, maintenance requirements, and energy efficiency. Each option offers distinct advantages and tradeoffs for Dallas-Fort Worth homeowners. Understanding these differences helps you make an informed decision aligned with your priorities and budget.
| Material | Cost per Sq. Ft. | Storm Resistance | Energy Efficiency | Maintenance | Lifespan |
|---|---|---|---|---|---|
| Fiber Cement | $6-$10 | Excellent | Good | Low | 50+ years |
| Vinyl | $2.50-$7 | Moderate | Fair | Very Low | 20-30 years |
| Insulated Vinyl | $4-$9 | Moderate | Excellent | Very Low | 25-35 years |
| Wood | $5-$10 | Poor | Fair | High | 20-40 years |
Fiber cement dominates in storm resistance and longevity. This composite material withstands impact, resists rot and pests, and handles moisture without deteriorating. The higher upfront cost pays off through minimal maintenance and exceptional durability. It accepts paint well and holds color for years.
Vinyl siding appeals to budget-conscious homeowners. According to HomeAdvisor, vinyl costs $2.50 to $7.00 per square foot but offers lower storm durability than alternatives. It requires virtually no maintenance beyond occasional washing. However, severe hail can crack vinyl, and strong winds may tear it from the home. Color fading occurs over time with sun exposure.
Insulated vinyl combines affordability with superior energy performance. The foam backing adds thermal resistance, and energy-efficient siding options like insulated vinyl reduce heating and cooling bills by 10 to 20% according to energy studies. This material costs more than standard vinyl but less than fiber cement, making it a practical middle ground.
Wood siding offers timeless beauty but demands significant maintenance in our climate. Moisture, pests, and UV exposure require regular treatment, painting, and repairs. While wood provides good insulation naturally, it’s the least practical choice for busy homeowners or those prioritizing low maintenance.
Consider these factors when selecting materials:
- Your budget for both installation and long-term maintenance
- Storm frequency in your specific neighborhood
- Energy cost reduction goals
- Desired aesthetic and architectural style
- How long you plan to stay in the home
Pro Tip: Request samples from manufacturers and view them on your home exterior in different lighting conditions. Colors and textures look different installed than they do in showrooms.
Review home improvement tips for DFW siding to understand how material choices affect your home’s value and performance. The right siding protects your investment while enhancing curb appeal and comfort.
Preparation Steps Before Installation
Proper preparation forms the foundation of a successful siding upgrade. Skipping or rushing these steps compromises the entire project, leading to premature failure and costly repairs. Methodical preparation ensures your new siding performs as intended for decades.
Follow these preparation steps in order:
- Remove existing siding carefully to avoid damaging the underlying structure
- Inspect sheathing and framing for rot, pest damage, or structural issues
- Replace damaged sheathing and repair any framing problems
- Install house wrap or weather-resistant barrier over entire surface
- Flash all windows, doors, and penetrations properly
- Verify walls are plumb and level, shimming as needed
Removing old siding reveals hidden problems. Take time to investigate what lies beneath before covering it up again. Water stains indicate past or ongoing leaks that need addressing. Soft or discolored wood requires replacement. Missing or damaged insulation should be upgraded during this phase.
Weather barriers are non-negotiable. According to This Old House, skipping moisture barrier installation leads to water damage in 20% of failed siding projects. The barrier sheds water that penetrates siding while allowing interior moisture to escape. Overlap seams properly and tape all joints as manufacturers specify.
Flashing protects the most vulnerable areas:
- Window and door openings where water commonly enters
- Corners and joints where siding panels meet
- Roof and wall intersections
- Penetrations for utilities, vents, and fixtures
Use corrosion-resistant flashing materials appropriate for your siding type. Metal flashing works with most materials, while specialized products serve specific applications. Follow manufacturer guidelines precisely, as each siding type has unique requirements.
Verify your wall surface provides a proper substrate. Siding attaches to structural framing, not just sheathing. Locate studs and mark them for fastener placement. Ensure adequate backing exists at all edges and corners where siding terminates.
Pro Tip: Take detailed photos during demolition and preparation. These images provide valuable documentation if warranty claims or insurance issues arise later, and they help contractors identify structural elements hidden behind finished surfaces.
Complete preparation before materials arrive on site. This prevents expensive delays when the installation crew shows up ready to work. Following step-by-step siding preparation procedures systematically eliminates problems before they compromise your new siding.
Installation Process and Hiring Professionals
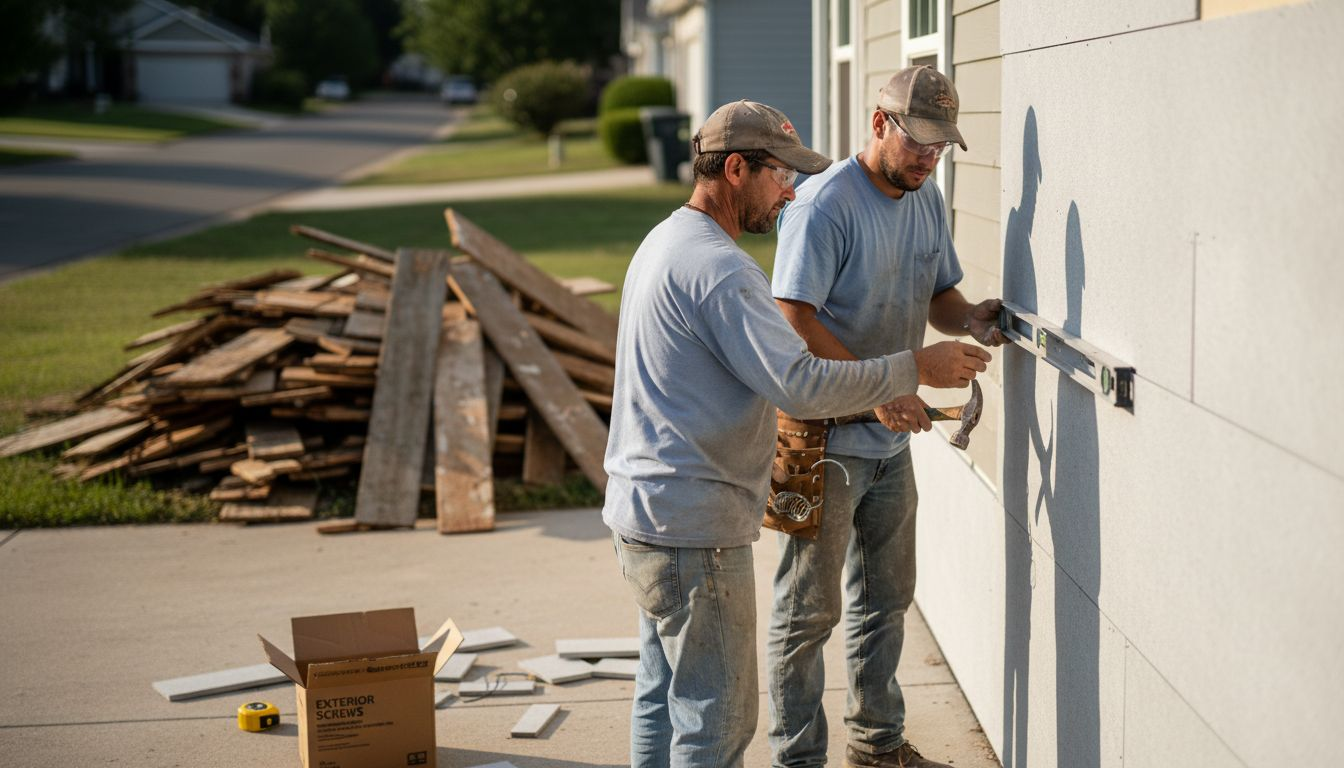
Proper installation techniques determine whether your siding performs as intended or fails prematurely. Even premium materials underperform when installed incorrectly. Understanding the installation process helps you oversee the work and select qualified contractors.
Professional installation follows this sequence:
- Install starter strips level and properly fastened at the bottom
- Hang first course with correct overlap and expansion gaps
- Work upward, maintaining consistent reveals and alignment
- Flash and seal all penetrations, corners, and terminations
- Install trim pieces and accessories per specifications
- Conduct final inspection checking fasteners, joints, and flashing
Fastening technique matters enormously. According to This Old House, improper nailing causes warping or detachment in about 25% of siding repairs. Nails driven too tight restrict thermal movement, causing panels to buckle. Nails placed incorrectly may miss framing or penetrate critical moisture barriers. Each siding type has specific fastening requirements regarding nail type, placement, and penetration depth.
Expansion gaps accommodate thermal movement. Siding expands and contracts with temperature changes, and panels need room to move without buckling. Leave specified gaps at all joints, corners, and terminations. These small spaces prevent major problems during extreme weather.
Hiring experienced professionals protects your investment. Evaluate contractors using these criteria:
- Verifiable local references from recent similar projects
- Proper licensing and current liability insurance
- Manufacturer certifications for products they install
- Detailed written estimates itemizing materials and labor
- Clear warranty terms covering both materials and workmanship
Request to see completed projects in your area. Quality work speaks for itself through tight joints, consistent reveals, and proper terminations. Ask previous clients about communication, cleanliness, timeline adherence, and problem resolution.
Typical residential projects take one to three weeks depending on home size and complexity. Weather delays extend timelines, as do unforeseen structural repairs discovered during preparation. Contractors should provide realistic schedules with milestones you can track.
Pro Tip: Stay on site or designate someone to oversee daily progress. Immediate answers to questions prevent mistakes and keep work moving forward efficiently.
Working with experienced siding contractors who understand local conditions ensures your upgrade withstands Dallas-Fort Worth weather. Professionals familiar with regional challenges install systems that perform reliably for decades.
Common Mistakes and How to Avoid Them
Siding projects fail when installers skip critical steps or use improper techniques. Learning from others’ mistakes helps you avoid expensive problems. Most failures trace back to a handful of preventable errors.
Improper fastening tops the list of common mistakes. Nails driven at wrong angles, spaced incorrectly, or penetrating the wrong depth compromise the entire system. Over-driven nails create stress points where panels crack or buckle. Under-driven nails allow panels to rattle loose in wind. Each manufacturer specifies exact fastening requirements that installers must follow precisely.
Skipping moisture barriers invites disaster. Water that penetrates siding needs an escape route, or it saturates sheathing and framing. According to This Old House, improper nailing, skipped moisture barriers, and misaligned panels cause the majority of siding failures. Installing house wrap with proper overlap and sealed seams takes minimal time but prevents maximum damage.
Misaligned panels create both aesthetic and performance problems. Inconsistent reveals look unprofessional and suggest rushed installation. More critically, misalignment at corners and terminations allows water infiltration. Take time to establish level, plumb reference lines and maintain them throughout installation.
Additional mistakes that undermine projects include:
- Ignoring expansion gaps, leading to buckled panels
- Using wrong fastener types that corrode or fail
- Poor flashing installation at vulnerable penetrations
- Mixing incompatible materials that react chemically
- Working in extreme temperatures outside manufacturer specifications
Inexperienced installers often rush through preparation to reach the visible installation phase. This backwards approach guarantees problems. Spending adequate time on moisture barriers, flashing, and surface preparation prevents far more issues than perfect siding installation over inadequate prep work.
Pro Tip: Verify your contractor follows manufacturer installation instructions exactly. Deviating from specified procedures typically voids material warranties, leaving you unprotected if problems develop.
Document the installation process with photos at key stages. Images of weather barriers, flashing details, and concealed work provide valuable records if disputes arise. Learning how to avoid siding mistakes by understanding proper techniques protects your investment. Taking steps to prevent siding mistakes ensures your upgrade delivers promised benefits.
Expected Outcomes and Maintenance for Longevity
A properly executed siding upgrade delivers measurable improvements in energy efficiency, storm protection, and home value. Understanding realistic outcomes helps you evaluate project success and maintain benefits long term.
Energy savings become apparent immediately. According to studies on energy savings from siding, energy-efficient insulated siding reduces heating and cooling bills by 10 to 20%. Your HVAC system runs less frequently maintaining comfortable temperatures. Rooms feel more consistent without hot or cold spots near exterior walls.
Storm protection proves its value when severe weather strikes. Fiber cement and quality vinyl siding withstand hail that would damage lesser materials. Properly installed systems resist wind uplift during storms. Your home suffers less damage, reducing insurance claims and out-of-pocket repair costs.
| Outcome Category | Expected Results | Timeline |
|---|---|---|
| Energy Savings | 10-20% reduction in HVAC costs | Immediate, ongoing |
| Storm Damage Reduction | 60-80% fewer exterior repairs | Per storm event |
| Maintenance Requirements | Annual inspection, periodic cleaning | Ongoing |
| Property Value Increase | 70-80% ROI at resale | At sale time |
Maintenance extends siding lifespan significantly. Different materials require varying care levels:
- Fiber cement needs inspection every year and repainting every 10-15 years
- Vinyl requires only annual washing with mild detergent
- Wood demands yearly treatment, painting every 3-5 years
- Insulated vinyl needs periodic cleaning and joint inspection
Inspect your siding after severe weather events. Look for cracks, loose panels, damaged trim, or compromised caulking. Address small problems immediately before they escalate into major repairs. Check that weep holes and vents remain clear for proper drainage and ventilation.
Clean siding annually to remove dirt, mildew, and organic growth. Use appropriate cleaning methods for your material type. Pressure washing works for vinyl and fiber cement but can damage wood. Avoid harsh chemicals that degrade protective coatings.
Most professionally installed siding projects complete within one to three weeks. Your contractor should provide a detailed timeline with specific milestones. Weather delays are common in our region, so build flexibility into your expectations.
Realistic maintenance and care preserve siding maintenance and durability for decades. Investing time in simple upkeep protects your substantial investment in improved home performance and appearance.
Upgrade Your Home Siding with Astrotech Construction
Your home deserves siding that withstands Dallas-Fort Worth’s challenging climate while reducing energy costs. Astrotech Construction specializes in siding replacement services engineered for local conditions.
Our team guides you through every decision, from material selection to final inspection. We understand the specific challenges North Texas weather presents and install systems proven to perform. Following our step-by-step siding upgrade process ensures your project delivers promised benefits.
Contact our experienced team of local siding contractors today. We provide detailed estimates, realistic timelines, and quality workmanship backed by solid warranties. Let us help you protect and improve your home with a professional siding upgrade.
Frequently Asked Questions
What siding works best for Dallas hail storms?
Fiber cement siding offers superior hail resistance for North Texas homes. This material withstands impacts from hail up to 2 inches in diameter without cracking or denting. While it costs more upfront than vinyl, fiber cement eliminates recurring repair expenses after storm damage.
How long does a typical siding upgrade take?
Most residential siding projects require one to three weeks from start to finish. Actual duration depends on your home’s size, architectural complexity, and weather conditions during installation. Larger homes or those requiring extensive structural repairs before siding installation take longer to complete properly.
Will new siding actually reduce my energy bills?
Yes, energy-efficient siding delivers measurable savings on heating and cooling costs. Insulated siding options reduce HVAC expenses by 10 to 20% by improving your home’s thermal envelope. The payback period typically ranges from 5 to 10 years depending on your current energy costs and usage patterns.
Can I install siding myself to save money?
Professional installation is strongly recommended for siding projects. Improper techniques void manufacturer warranties and lead to premature failures requiring expensive repairs. Experienced contractors complete work faster, ensure proper moisture protection, and guarantee their workmanship. The money saved through DIY installation rarely justifies the risks involved.
How often should I maintain my new siding?
Maintenance frequency varies by material type, but annual inspections benefit all siding. Vinyl and fiber cement need yearly cleaning and inspection for damage. Wood siding requires treatment and painting every 3-5 years. Check your siding after severe weather events and address any damage immediately to prevent escalation.
Recommended
- Siding Replacement: Protecting and Upgrading Your Home – Astrotech Construction
- 7 Smart Energy-Efficient Home Improvements for Homeowners – Astrotech Construction
- Siding Replacement Step by Step for Lasting Results – Astrotech Construction
- Why Upgrade Building Exteriors: Boost Value and Comfort – Astrotech Construction
- 6 Essential Commercial Joinery Tips for Homeowners